Please follow steps below to replace the SVT series wireless vibration & temperature sensors‘ battery.
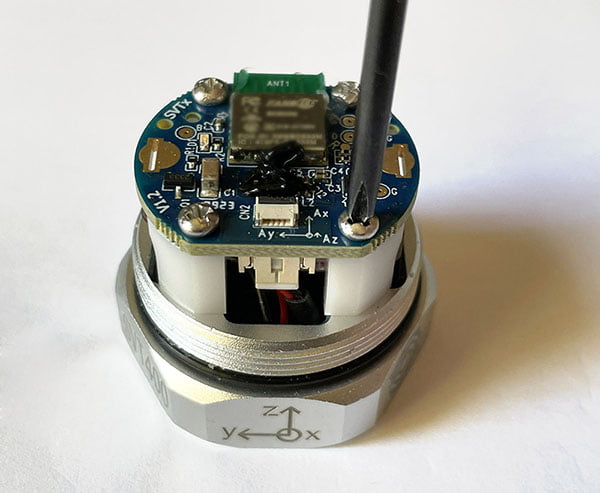
- Use one hand to hold the base of the wireless vibration and temperature sensor, and use the other hand to rotate the cover of the sensor counter-clock wise to open the sensor.
- Use a Phillips screw driver PH 1 to remove the four screws holding the sensor PCBA to the battery cover. The color of the battery cover is either black or white. Remove the sensor PCBA with battery from the base. The sensor’s battery type is 14250 (1/2 AA size). Please record how the battery is connected to the battery cover and PCBA. There is only one direction that allows the battery to be installed to the battery cover, PCB and sensor base.

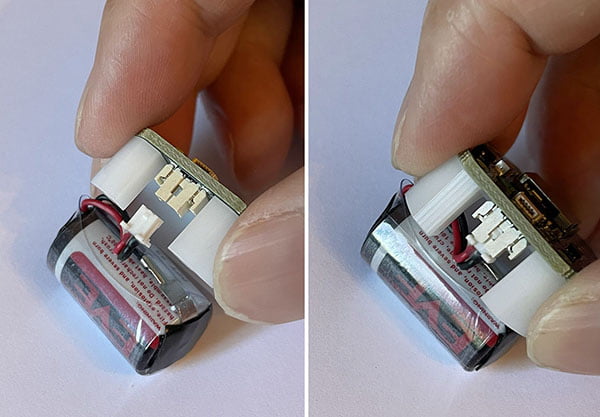
- Disconnect the battery from the sensor PCBA. Insert the new battery’s connector to the sensor PCB. The battery uses Molex 51021-2p connector. The connector of the battery is directional. The sensor battery wire is pre-twisted, so that the battery and wire can fit in the battery cover easily. Please do not straighten the wire.

- There is only direction for the battery wire to fit in. Before putting back the screws, take some data and verify the battery level. A fresh battery should have a voltage reading at least 3.61v.

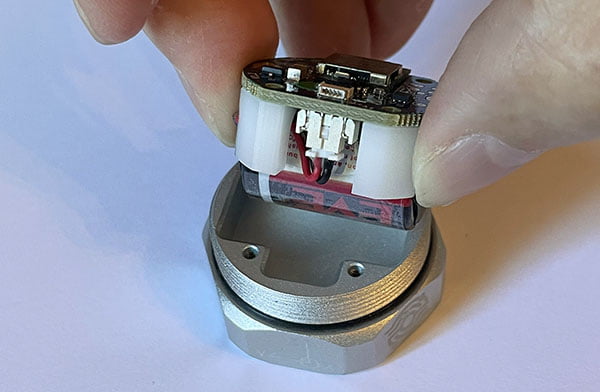
- Insert the sensor PCBA with battery to the base, tighten the four screws with a torque of 0.2Nm (the torque should not exceed 0.3Nm to prevent damaging the PCBA).
- If user wants to keep the IP68 waterproof rating, then some silicone glue should be put on the sensor base threads. Put back the sensor cover. The wireless vibration & temperature sensor is ready to use. For IP69K rating that protects the sensor from hot high pressure water jet and hot steams, triple coating is required. Please contact Broadsens for details.
Please refer to this document on how to replace the battery for SVT-L series long-range wireless vibration & temperature sensors.